How to Change a Light Fixture - Home Improvement
One of the easiest ways to upgrade your home is by switching out the light fixtures. A new pendant, sconce, chandelier, or even a semi-flush mount can update your home immediately. If you have 30 minutes and some basic tools, you can switch out your very own light fixture. Follow these steps to quickly and easily upgrade your home light fixtures.
| Supplies Needed |
|
Step One: Turn the Power Off
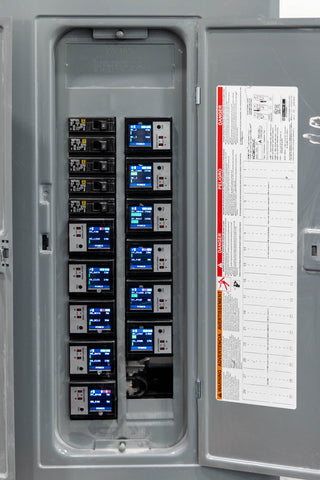
Before starting any electrical project, you'll want to make sure the power is off. This is an important safety step, so please don't skip it. Find your home breaker box and switch the circuit off for the room you'll be working in. If you are unsure which circuit to switch off, you may need to test a few. Pro tip: as you test this, be sure to label the switches either with a permanent marker or some masking tape. And finally, turn off the light switch for the light you will be replacing.

Step Two: Remove the Old Fixture
First, remove any detachable pieces of the light fixture. This can include but is not limited to shades, glass, and bulbs. Secondly, many light fixtures are screwed into the electrical box. Use the screw that fits to unscrew the fixture. At this point, the light should come away from the drywall. Remove the old wire connectors and untwist the fixture's wires. Remove any base or trim left by the old fixture.
Step Three: Attach the New Bracket
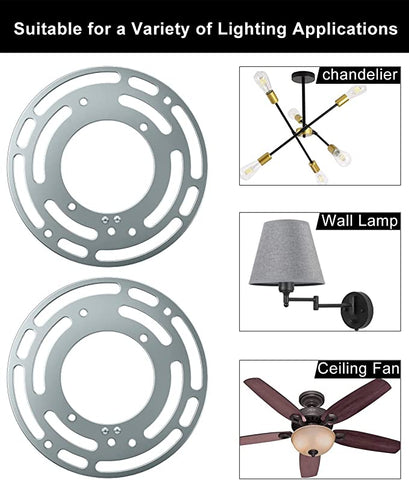
Your new light fixture should come with a new bracket. Most brackets are universal and can attach to any electrical box. Use a screwdriver to secure the new bracket in place. Be sure the wires are threaded through the new bracket so you can attach the new wires.

Step Four: Measure
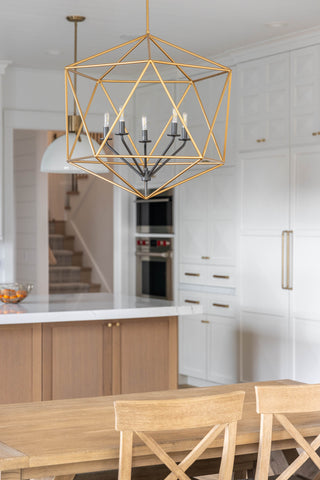
If you're putting up a new chandelier or hanging pendant there are guidelines to how high you'll want these to hang. Generally, any chandelier or pendant over a table or counter should hang 30-36" above the surface. See other sizing guides here.
Once you've adjusted the wires and downrods/chain to the appropriate length, it is time to cut and strip the fixture wires. Cut the wires to the length you want plus about 10 inches more so you leave yourself room for mistakes. Strip the wires of about one inch of wire coating each.
Step Five: Connect the Wires
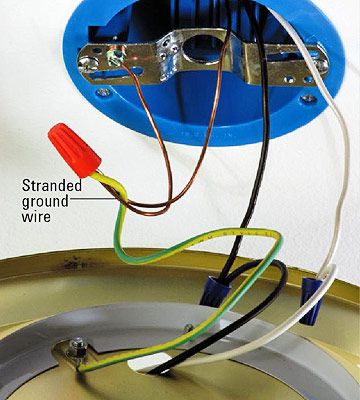
Next, it's time to connect the light fixture wires to the home's wires! Black wires connect to black, white to white, and ground wire to ground wire. Connect ground wires LAST. Ground wires are typically green or uncoated.
Twist the exposed part of the wires together and screw on the wire connectors.

Step Six: Secure the Assembled Fixture
It's time to install the assembled fixture! Beforehand, you should've followed the light fixture's assembly guide and screwed in the bulbs. If you have a heavy chandelier or pendant, we recommend having a second person to help you lift and maneuver the light.
First, tuck the wires into the drywall/electrical box. Next, secure the light fixture canopy using the included hardware to the bracket. Et voilà! You have a new fixture.

Step Seven: Turn the Power On
Head back to your breaker box and switch the room's breaker back on. Head over to your light switches and turn on the light! Admire your hard work. You did that!
Let us know if you used this blog to install your new light fixtures! Liked this blog? Check out How to Instantly Upgrade Your Home for Under $500
A special thank you to Lowe's, HGTV, and House Beautiful for their inspiration on how to write this blog.


Leave a comment